Our #ProjectLakeLife Renovation - The Solarium
Join us each week as we share the victories and defeats of our whole house renovation. My husband and I recently purchased a quirky split level from the 70s that needs some love. This week, check out the glass enclosed solarium that we’re tackling. It’s time for the 70s swinging hot tub to go. Follow us as we create a new space which I’m dubbing our “Library Lounge”.
Another week and more dust at #ProjectLakefront! We’re running out of rooms to hide in and spending a lot of money on Swiffers.
So as you know, the lake view was certainly one of the main reasons that we loved this house, but I was also really drawn to all of the unique architectural features in this quirky house. The glass enclosed solarium on the south end of the house was a big surprise. Check out my video tour from when we first saw the house with our realtor!
Lord I hate my voice on video!
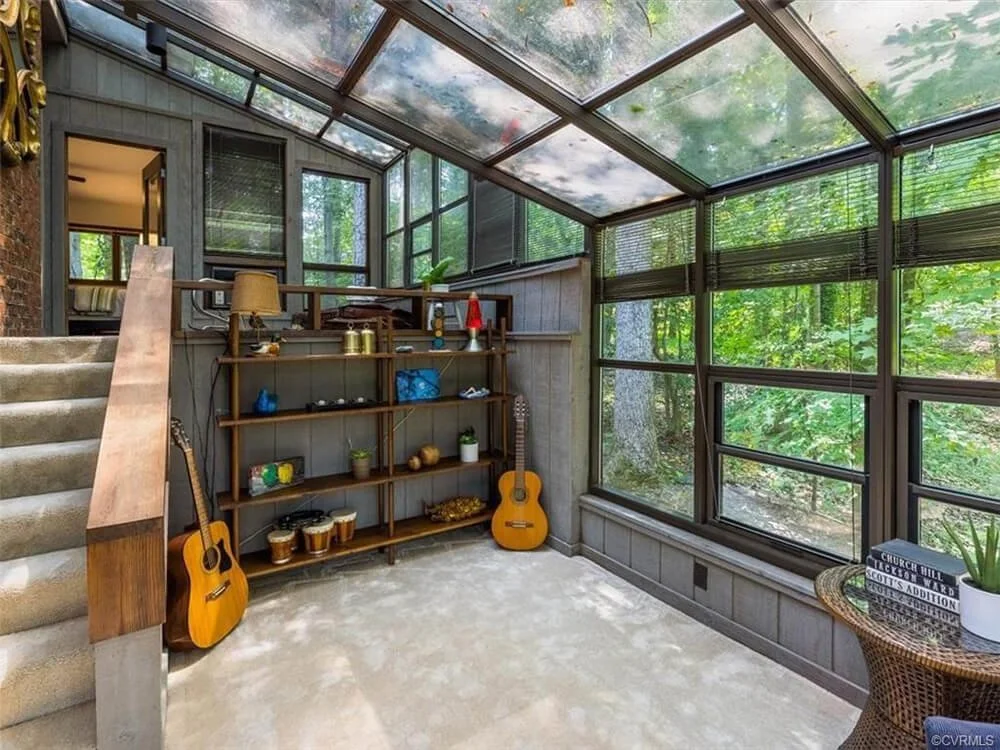
The original owners added this solarium at some point over the past 46 years, presumably because they wanted the luxury of a hot tub outside their master suite. So you’ll see that the space was designed as a two level space with the drop-in hot tub at the top level with a door into the master bedroom. My Netflix brain just imagines all of the swinging hot tub parties that happened in that space over the years. The lower level served as a den space or music room judging from the guitars.
But the reality is that we’re not hot tub people. Our old house came with a hot tub in the back yard and we gave it to our neighbors who dragged it across the street.
The only one who enjoyed this new hot tub was Ranger!
We tucked a couple of chairs in the bottom level which offered a nice view of the lake. Again … Ranger loved it!
So as much as Ranger was perfectly happy with the space as it was designed, I knew that it was at the top of the list for what needed to be gutted and renovated. So we got to work, or rather my contractors at Wateredge Construction, got to work removing the hot tub. I believe it went to a good home with one of the guys. Then we closed off the door from the master bedroom and lowered the floor so that it was all on one level.
Now the question was what were we going to do with the room? There are a lot of challenges in the space. The brick wall is the back of the living room fireplace and there is an ash clean out at the very bottom to contend with. The floors will need to be leveled and the wood from the living room will be carried into this space. The vertical siding you see is the exterior of the entire house. It will all be patched and painted Sherwin Williams Iron Ore along with the rest of the exterior. The concrete block will be framed and finished with drywall.
In the back left corner of the space, below what used to be the door to the master bedroom, is the one and only access to the crawl space, so we needed to find a way to maintain that but hide it. So, we’ve decided to line the back wall with cabinetry that would double as a bar and some library space. We’re going to place a 30”W wine / beverage cooler in front of the access door so that we can pull it out as needed.
The room is on the narrow side, so the furniture layout was tricky. Besides being narrow, the brick wall throws everything out of symmetry. After several different renditions, I finally came up with a plan. Here is a rendering of what I have in mind for the space.
Check out the back wall where the door into the bathroom once stood. I’m going to cover that wall with greenery (probably faux because my thumb is black). I love the look of a living wall and it works so perfectly with our surroundings. And I’m showing a mural from my talented friend Amanda Moody of Bombshelves on the right side of the room. This is one of my faves from her, but I may challenge her to create something brand new and unique for me.
I’m going to refer to the room as our “Library Lounge”. I have a library table at the back of the room with stacks of books and fun collections. And I’ve hinted for an old-school turn table for my birthday (which is coming up if anyone wants to send me presents). We discovered all of my great vinyl from the 80s when we were packing to move, so we’ll have to build on that collection. The chairs will of course be swivel so that we can turn and enjoy the view of the lake while we read a juicy novel and listen to some Morrissey. Of course, we’ll throw the glass sliding doors open when the weather is nice and use the room as an additional entertaining space, as it connects to our deck. And who knows, maybe someday we’ll install a brand new hot tub out on that deck.
Our #ProjectLakeLife Renovation - Where do we start?
Follow along as I share our journey of renovating the midcentury modern house that we bought on Lake Cherokee in Richmond. It’s going to be a year of ups and downs as we tackle gutting most of the interior, building a primary bathroom and closet addition and grooming the very large unkept property. I’ll share tips and tricks for renovations and some of the design trends for 2022 that I’ll be incorporating into our project.
During the real estate boom of 2021, my husband and I (now empty nesters) decided to jump on the bandwagon and make a move. We lived in a very nice planned community in the west end of Richmond for 20 years. While the community was great for raising our family with awesome schools and lots of kids running around the neighborhood, Jeff and I were ready for a change. I reached out to my realtor friend and guru, Kristin Krupp of Shaheen, Ruth, Martin & Fonville and asked her to help me find a house that was “interesting”. Our timing was perfect because a house was about the enter the market that was clearly “meant to be”. Within a matter of days, we were touring the house, made an offer and had the offer accepted. I actually felt a little guilty after reading so many tales of woe with people trying to navigate the bidding wars and low inventory of available homes. But this beauty was all ours!
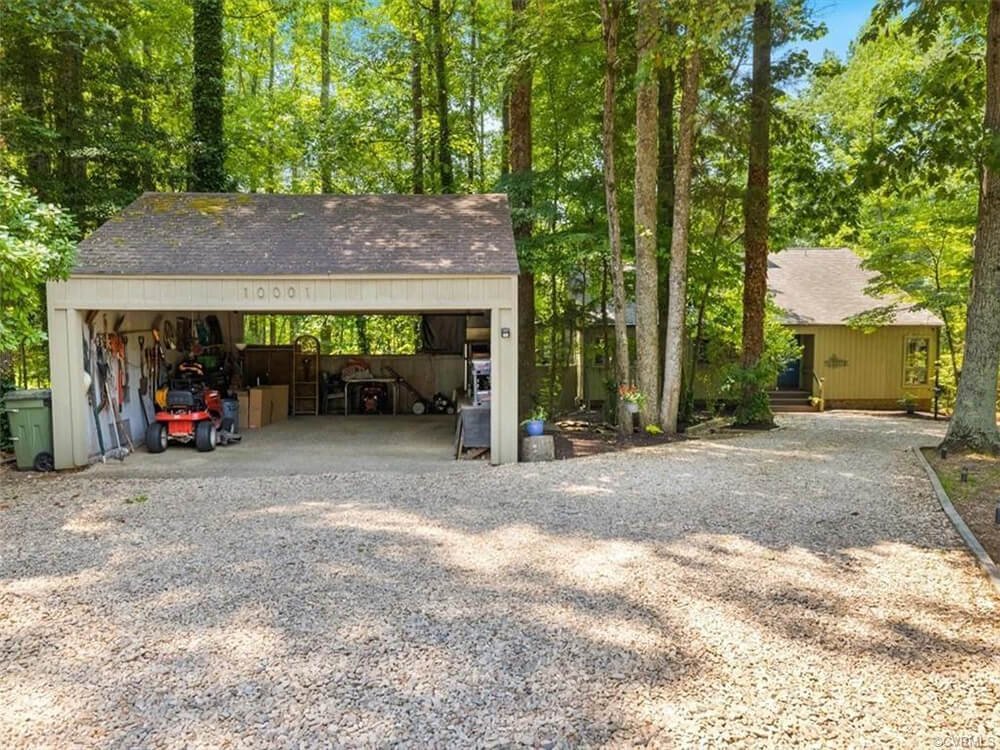
And check out this mac daddy garage for our massive car collection!
We got seriously lucky though because that front image of the house was the ONLY image on Zillow when it went on the market. They were hiding the best part of the house!
The house is a funky 70s split level house and when you walked down into the main living area and kitchen, this is the view!
The house is located on Lake Cherokee which I never even knew existed just south of the James River in Richmond. It’s this hidden gem of an 18 acre stocked lake. And since moving into the house, we’ve discovered that there is a great tight knit community of lake front homeowners who we are getting to know better. These houses do not go on the market often and have been passed down between family members. The seller for our house inherited the home from her parents who were the original owners when they built it in 1976. It was very evident that this home was loved and enjoyed for generations and we wanted to be sure to honor that. So when we put in our offer, I wrote a letter to the sellers and assured them that we intended to love it and share it with our family. The house really hasn’t been renovated, with a few exceptions, since it was built. I shared my intention to renovate the house, but respect the house’s history and architecture.
Over the next year, I intend to share the journey of our renovation and all of the surprises and challenges that we encounter along the way. But just as a sneak peek at what we have planned, here’s a rendering of the planned front elevation. You’ll see that we have an addition planned for the front of the house. More on this later…
We’ve started demo on the inside projects and we’re already seeing a lot of potential. Stay tuned for our weekly check-ins and I’ll share the good, the bag and the ugly that we encounter along the way.
JSI Faves: Before and After Westham Renovation Part 3
Explore more of the interior transformations in part 3 of our series featuring the whole house renovation of a home in Richmond's Westham neighborhood. We share the dramatic changes to the entry, the dining room and the living room, along with some images of the wonderful work of our landscape designer.
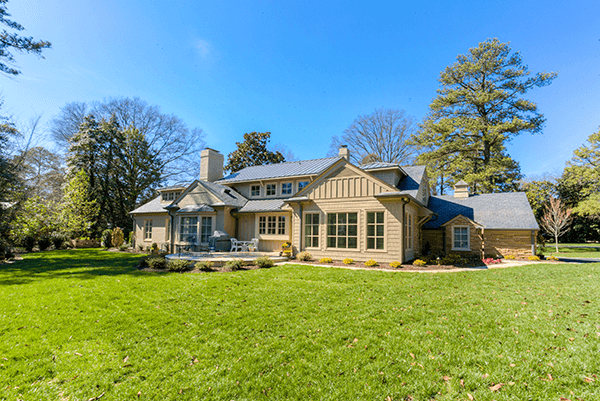
I hope you've had a chance to enjoy Parts 1 and 2 of this series where we shared some of the background of this whole house renovation project and some of the dramatic before and after photos of the front elevation of the house and the kitchen. The kitchen transformation was incredible! Today, I'm sharing some of the additional interior spaces and closing with some images of the wonderful work of our landscape designer.
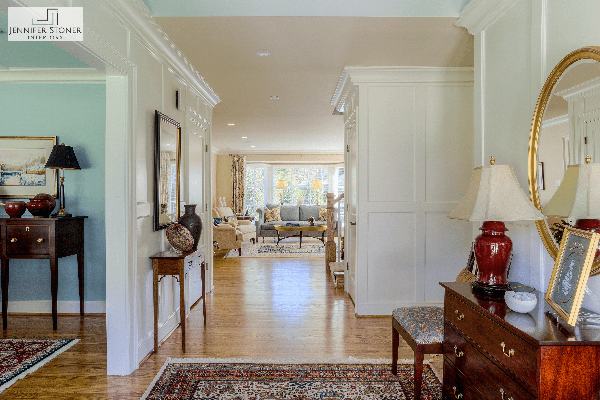
The original foyer was a small unassuming entry with the formal dining room off to the side. We raised the ceiling to create a vaulted area with a loft overlook from the newly added living space on the second floor. We added a classic white wainscoting treatment to the walls for added drama and opened up the views to the back of the house. Figuring out the spacing of that wainscoting was a math challenge. We included a hidden paneled section in the hallway for luggage storage.
The original dining room was adorned with a vintage chinoiserie wallpaper. I've been trying to research the pattern to discern it's age. It's reminiscent of the early de Gournay papers, but the condition of the paper led me to believe that it was older, since de Gournay was started in the late 1980s.
Unfortunately, the wallpaper was not in great shape and also not in keeping with my clients' taste. So, we removed the paper in favor of a nice coat of fresh paint. We also removed an adjoining powder room and added a lovely butler's pantry which is evident through the widened case opening at the back of the room.
The soaring ceilings of new homes were not common in ranch style homes of the fifties, so the entire first floor has 8'3" high ceilings. My clients had enjoyed nice coffered 10' ceilings in their previous home and were hoping to achieve the same look in this house, but the lower ceilings presented a challenge. Instead, we opted to create a more unique geometric design on the ceiling with a shallow 1" deep trim detail.
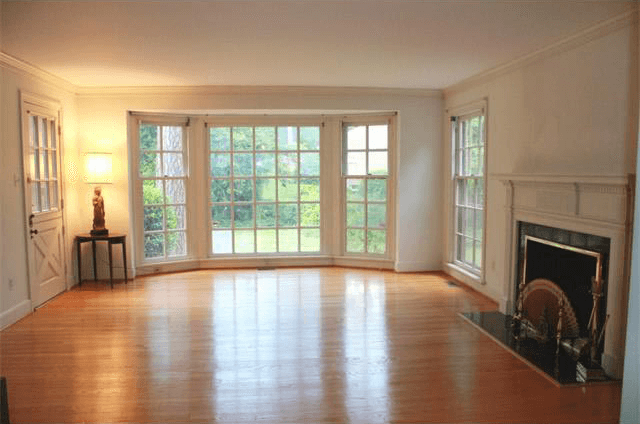
The original living room was a nice open entertaining space with terrific potential. We removed that Dutch door at the back of the room and re-purposed it for our side-door entrance. We replaced all of the hardwood flooring throughout the house when we discovered how much water damage there was from the drenched foundation.
We restored the original fireplace and created new custom cabinetry to display my clients large sculpture collection.
Having traveled to every continent over the years, my clients have collected some wonderful treasures along the way. They've also enjoyed collecting artwork from local artists during their travels and that artwork fits beautifully on the walls of their new home.
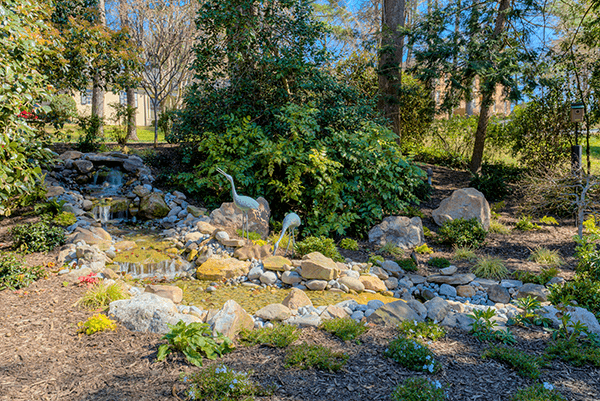
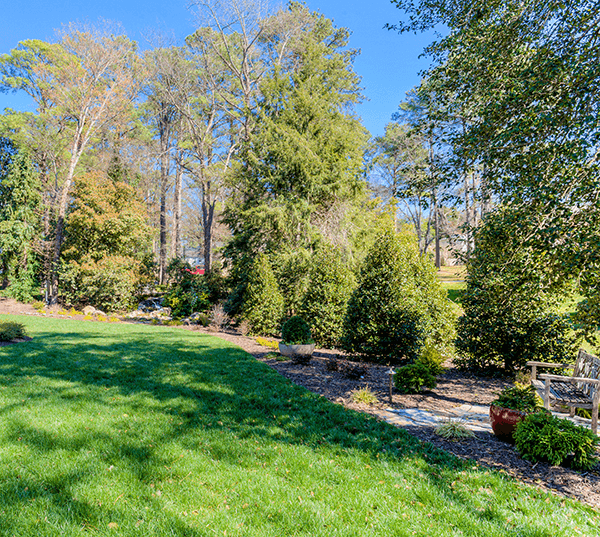
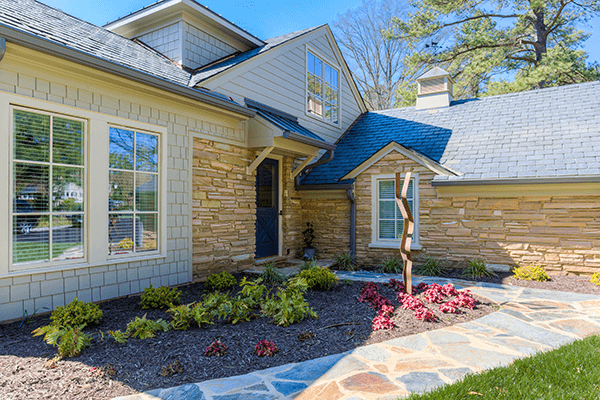
One of the early decisions in this renovation process was that the windows all needed to be replaced. The new windows all have less dividers allowing a more open view to their surrounding property which is wonderful. Another valuable member of our Conception to Completion team was landscape designer, Peggy Ford of Glorious Gardens. When my clients purchased this home, it was overgrown with trees and shrubbery that had been sorely neglected for years. Peggy created beautiful paths, small garden corners and a beautiful pond with a trailing fountain. It's absolutely perfect and will only improve with a little love and age.
I truly enjoyed working on this project because of the combined talents of everyone on our team and because I couldn't ask for better clients. It's very gratifying to breath life back into this neglected home and see it come to life with the energy and happiness of its new family.
JSI Faves: Before and After Westham Renovation Part 2
Part 2 of our Westham Renovation Blog series features the dramatic transformation of the most important room in the house ... the kitchen! Check out how we captured more space and brought the kitchen out of the "golden" era of the 50s.
In this second installment of our blog series featuring our renovation of our client's home in Richmond's Westham neighborhood, we're focusing on the most important room of the house ... the kitchen! We knew when we walked in and saw the original kitchen, we were going to have to test the limits of our clients' imaginations. The original cabinetry with the lemon colored formica countertops and matching walls was quite a throw back to an era gone by.
Original Kitchen
The room was not that small, but the actual work triangle, where most of the culinary magic happens, was quite cramped. There was also a lot of dead space in the middle of the room, yet no place for a breakfast table or casual dining.
Don't you love those yellow countertops?
We knew we would need to capture more space from the back of the house to make this kitchen function better for our clients. Luckily, the kitchen was settled back into an alcove on the back of the house which gave us some room to grow.
Original back of the house showing the kitchen window and door
The door to the left of the kitchen in the photo above was a great old Dutch door that led into the living space. We removed that door and relocated it to the side entry.
Original Dutch door restored and relocated to the client's side door
We removed the door to the patio from the kitchen and relocated that to the newly renovated sunroom off the side. We were then able to capture some of that courtyard space and push the kitchen back. We specified a large 8' wide window over the sink which floods the room with lovely natural light. By moving that wall out we were able to square up the room a little more and include a nice large kitchen island with seating.
The After!
Our clients' previous home had cherry cabinets, so they wanted to lighten things up this time. But, they have a house full of treasured furniture pieces with some very traditional darker finishes. A bright white kitchen, as is all the rage these days, would have looked too cold and out of place in their home. Instead, we opted for a soft linen white cabinet from Brookhaven mixed with a walnut stained island.
A dramatic contrast to the original kitchen!
We found a good light and neutral granite for the countertops and mixed it with honed travertine subway tiles on the backsplash. My clients now have ample cabinetry storage and lots of counterspace to make nice big family meals. A big thank you goes to Matt Gunn of Classic Kitchens of Virginia who collaborated in our kitchen design. He was a terrific partner in this team effort!
Tomorrow, we'll take a peak at some of the other interior transformations in this home. Stay tuned...


